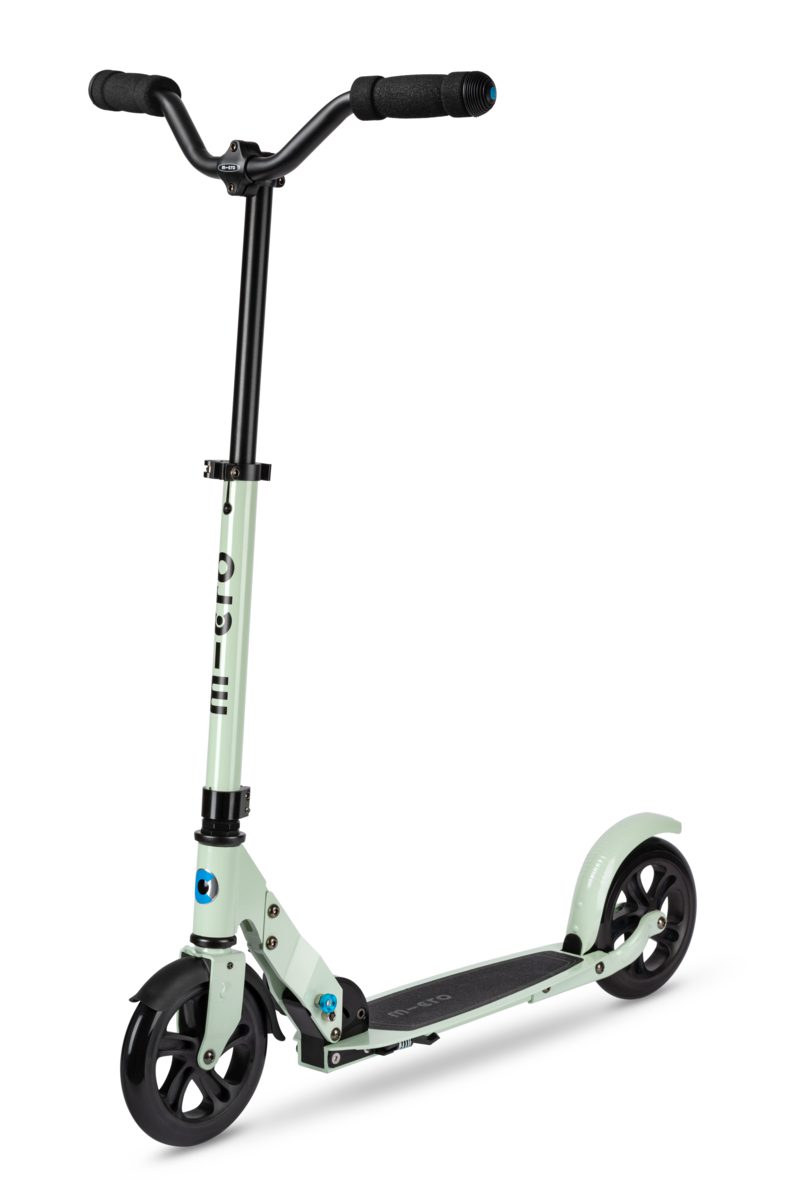
Scooter Maintenance
To ensure that your scooter keeps on working smoothly there are a few basic tips that you should know about to keep it safe and increase its lifespan. As it’s made from replaceable parts, it can last a lifetime.
Rest assured if a part is broken it can be easily replaced, so there’s no need for it to end up as landfill. We stock most parts and provide step-by-step guides on how to fit them. Visit the Parts section on our website for more information.
If you are uncomfortable working on your scooter yourself, you can email details of your problem to info@micromobility.co.za or chat to us on WhatsApp using the button at the bottom of the page.


Repairing or Revamping your Micro Scooter
One of the best things about Micro is all parts on our scooters are replaceable. This means most problems can be fixed and your scooter can keep going and going. A list of basic scooter repairs and helpful repair videos can be found below.
We engineer every Micro to be fit for a lifetime of scooting. Here are a few handy tips to help you look after your scooter and enjoy a smooth ride for years to come. A small bit of TLC every now and then is all it takes.
Teaching your children to look after their scooter with a little TLC is easy!
FAQ's
Tools for maintaining your micro scooter
Periodically check all the bolts are tight enough
When you go over rough surfaces on your scooter; over time the vibrations can sometimes loosen the bolts that hold your scooter together. To make sure that your scooter stays in peak condition you should check that all the bolts are done up tightly at least monthly (more often if you use if regularly), especially if you hear any rattling or feel any shaking when using it.
Depending on your model, there may be bolts to tighten on the handlebar clamps, steering column, wheels, brake, on the folding block and under the deck.
Be aware, undoing the axle screws several times will reduce the effectiveness of the screw thread securing the product. This means that the screws may come loose by themselves. If you have removed the axles at any point, be sure to check them even more regularly or apply some thread locking fluid to keep them in place.
Cleaning debries from your scooters breaks
Occasionally you may get debris such as sticks and stones stuck between the brake and your back wheel. This can both damage the wheel and cause the brake to become less effective. A quick check under the brake for any obstructions could save you some hassle later on.
How to replace scooter wheels
Using the Allen Keys provided in the box with your Scooter undo the axle through the wheel. (If you have difficulty with this please refer to the “Dealing with immovable bolts” below
If the wheel does not come with bearings either insert new bearings or replace them with the bearings from the old wheel.
If your model has spacers or washers make sure they are in place before replacing the wheel.
Place the Allen Key bolt through the base, wheel, and spacers if applicable, and tighten.
Dealing with immovable bolts
When our scooters are being assembled all the bolts have a thread locking fluid applied to them to ensure that there is minimal loosening and movement of the parts. This can however cause problems when trying to undo the bolts.
If you are finding any bolts too tough to move a short, sharp tap with a hammer can be enough to break the seal of the locking fluid and make it a bit easier to handle.
You may find you need a little extra force to tighten or undo the bolts, even without locking fluid causing the problem. If you place a short length of pipe or something similar over the handle of the Allen key this should give you the added leverage you need to undo or tighten up any bolt.
Drilling out the axle
If you’re having trouble removing an axle you might have to drill it out and replace it with a new one.
Rest the scooter on its side securing it if possible with a clamp or similar.
Use a 19/64 drill (14mm) bit to drill the round head off the bolt.
Slide out the existing axle
You’ll need to replace it with a new axle of the same size
How to replace Mini Micro/Maxi Micro T-tube button
Remove any parts that may be left inside the t-tube.
Fit the Red or Black plastic push button on the silver spring, ensuring that the long flat side of the button is facing away from the bend in the spring.
Push the end of the spring with the bend in it into the handle tube pinching the spring to allow the button to fit inside, you may need to adjust the position slightly until the button pops out the hole in the t-tube.
Push the handles into the base, you should hear a click once in place and secure.
Keep the folding block on your scooter done up tight
To keep the folding block tight you should make sure that the release lever folds all the way over. However there should always be some resistance when doing it up or undoing it. This should be checked regularly, if you notice it getting a little loose it’s easy to tighten by screwing up the nut on the opposite side of the folding block to the lever.
To help prevent breakages it’s important that the folding mechanism is clamped up good & tight whenever you are using your scooter. This will make sure that you are minimising points of stress on the scooter, allowing it to keep in service for as long as you need.
Stroing your scooter
To keep your scooter in the best possible condition we recommend that when not in use it is stored indoors, away from the rain and sunlight which can cause damage, corrosion and fading if left for too long.
Lubrication
To get your scooter to operate as smoothly as possible it’s a good idea to lubricate it periodically. Putting some lubricant on the wheel bearings can make them glide a little smoother and some on the silver nubs on the folding block can make collapsing your scooter a little easier. Also applying it to the brake spring can prevent any sqeaking that may occur.


